Those wonderful and talented kids from Wellington have done it again and now Kat, Mel and Juliet have created The Monthly Stitch where a new sewing challenge is issued monthly. The August 2013 Challenge was to sew a cape! I have always, always, always wanted a cape. I’ve never sewn one, never worn one, never owned one. So, this was the perfect opportunity to Make It So. There have already been some fantastic makes in this challenge, it was very inspiring to see the cape in all its forms.
 I used a pattern by Christine Haynes from a Quick Stuff to Sew, Winter 2011 magazine that I had.
  I loved the deep side slits as they allow for range of motion, i.e., you can actually move about and DO things while wearing your cape. There were some issues with enlarging the pattern. If you followed the 980% instructions, then the 1 inch squares became too big. So, I wasn’t sure which was correct, enlarging to 980% or having the squares measure to 1″. In the end, I tried on the ‘paper muslin’ and enlarged it to a size that worked for me.
 And, more exciting news, the Sew Weekly Challenge has returned! I had not even begun sewing yet when they were blogging and issuing sewing challenges the first time around, so I’m delighted to be able to participate now. The August 2013 Sew Weekly Challenge was to make something out of the Pantone Fall 2013 Colours.
  The colour I chose for the cape is called Vivacious and the fabric is a medium/heavy wool blend. According to the Pantone Fashion Color Report, Fall, 2013:
Vivacious is an unruly and wildly deep fuchsia, and adds an ebullient sensuality to the palette.
Sounds too fabulous, yes? How could I possibly resist the lure of that?!
 I underlined each cape piece in a deep navy/indigo bemberg lining fabric and finished off all raw edges with navy bias tape.

Navy/Indigo Bemberg Underlining and Bias Taped Edges
 I was originally going to make 1″ bias tape for the necktie, as the pattern called for, out of navy fabric to match the lining, but being part of a Pantone Colour Challenge, it began to feel a bit one-dimensional. So, I chose this lovely silky smooth cotton which incorporated the Pantone colours: Vivacious Pink, Acai Purple, Linden Green, Deep Lichen Green and Carafe, all together.
  The colour combination of pinks/purples/greens and olive-brown complement each other so beautifully.
  Colour Theory:
On the colour wheel, the Vivacious shade of pink (red/violet) is opposite the Linden green-yellow shade and is ‘complementary’.  This pairing creates contrast and keeps things lively and animated. The acai purple (violet) is adjacent to the pink on the colour wheel, (these are called ‘analogous’ colours), which creates harmony and mellows things out. The two greens are also analogous to one another, lending a calming effect.
  There is a mix of warm and cool colours which ensure the palette doesn’t become too one-dimensional. The olive-brown colour is actually what you would get if you ‘mixed’ all these colours together and, therefore, fits effortlessly into the colour scheme. The indigo/navy lining has enough purple in it to coordinate with these colours, and is also analogous to the acai purple/violet colour. It is a very deep and dark shade, and so creates a grounding effect and provides a good backdrop for the other colours. This is what I’m hoping, anyway. It all sounds good. 😉

One Tie Over Shoulder

Both Ties Over Shoulder
For the collar/tie piece, I wanted something more lush than bias tape, so I interfaced the fabric with a fleece, to make it thick and cozy and similar in weight and thickness to the cape fabric. I then cut and sewed two rectangles together with angled ends and just sewed it to the cape, all the way around the top.  I had no idea how to make a collar/tie like this, just had a vision of what I hoped it to look like, but it did seem to work out well! By adding this style of tie, it creates different options for wearing it and is also warmer. I also wanted the cape to stay closed so sewed on some metal closures down the front. And, what do these metal closures look like? Little capes! 🙂

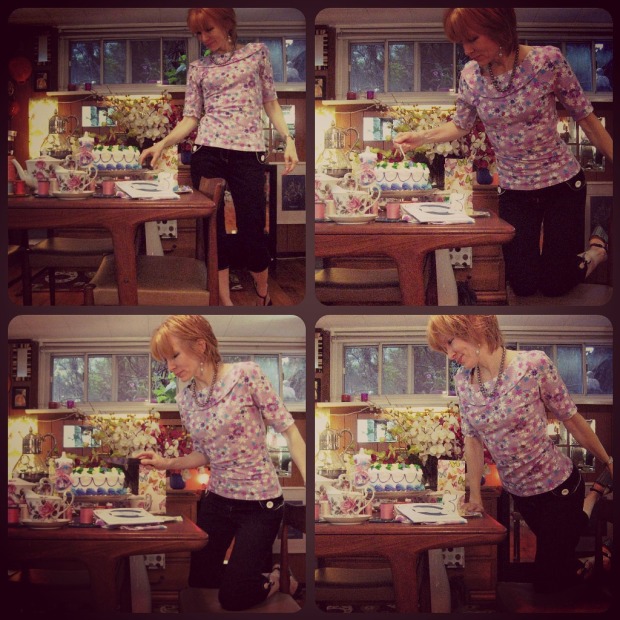
Who Let The Cat On the Set?? CAT ON THE PHOTO SET!!!

No Treats? I’m Gone….
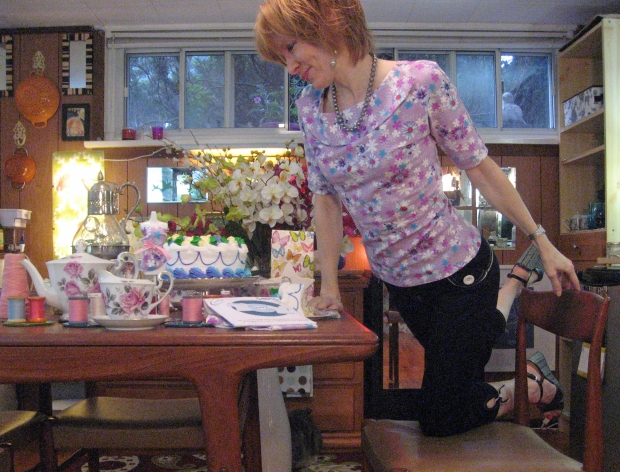
And, the very best part of having a cape instead of a form-fitting jacket?? There’s always room for one more…