 I have completed my makes from Gertie’s New Book For Better Sewing by Gretchen Hirsch and Twinkle Sews by Wenlan Chia. For both of these projects, it was my first time utilizing a variety of sewing techniques, seven to be exact!
New Skills/Techniques
- Invisible Zipper
- Skirt Yoke
- Inverted Box Kick Pleat
- Lining a Skirt with an Inverted Box Kick Pleat
- Side Lapped Zipper
- Hand Picking a Zipper
- Hand Stitched Invisible Hem
So, for January’s Monthly Stitch: New Year = New Skill ![]() challenge, we are all trying our hand at new (to us) techniques.
challenge, we are all trying our hand at new (to us) techniques.
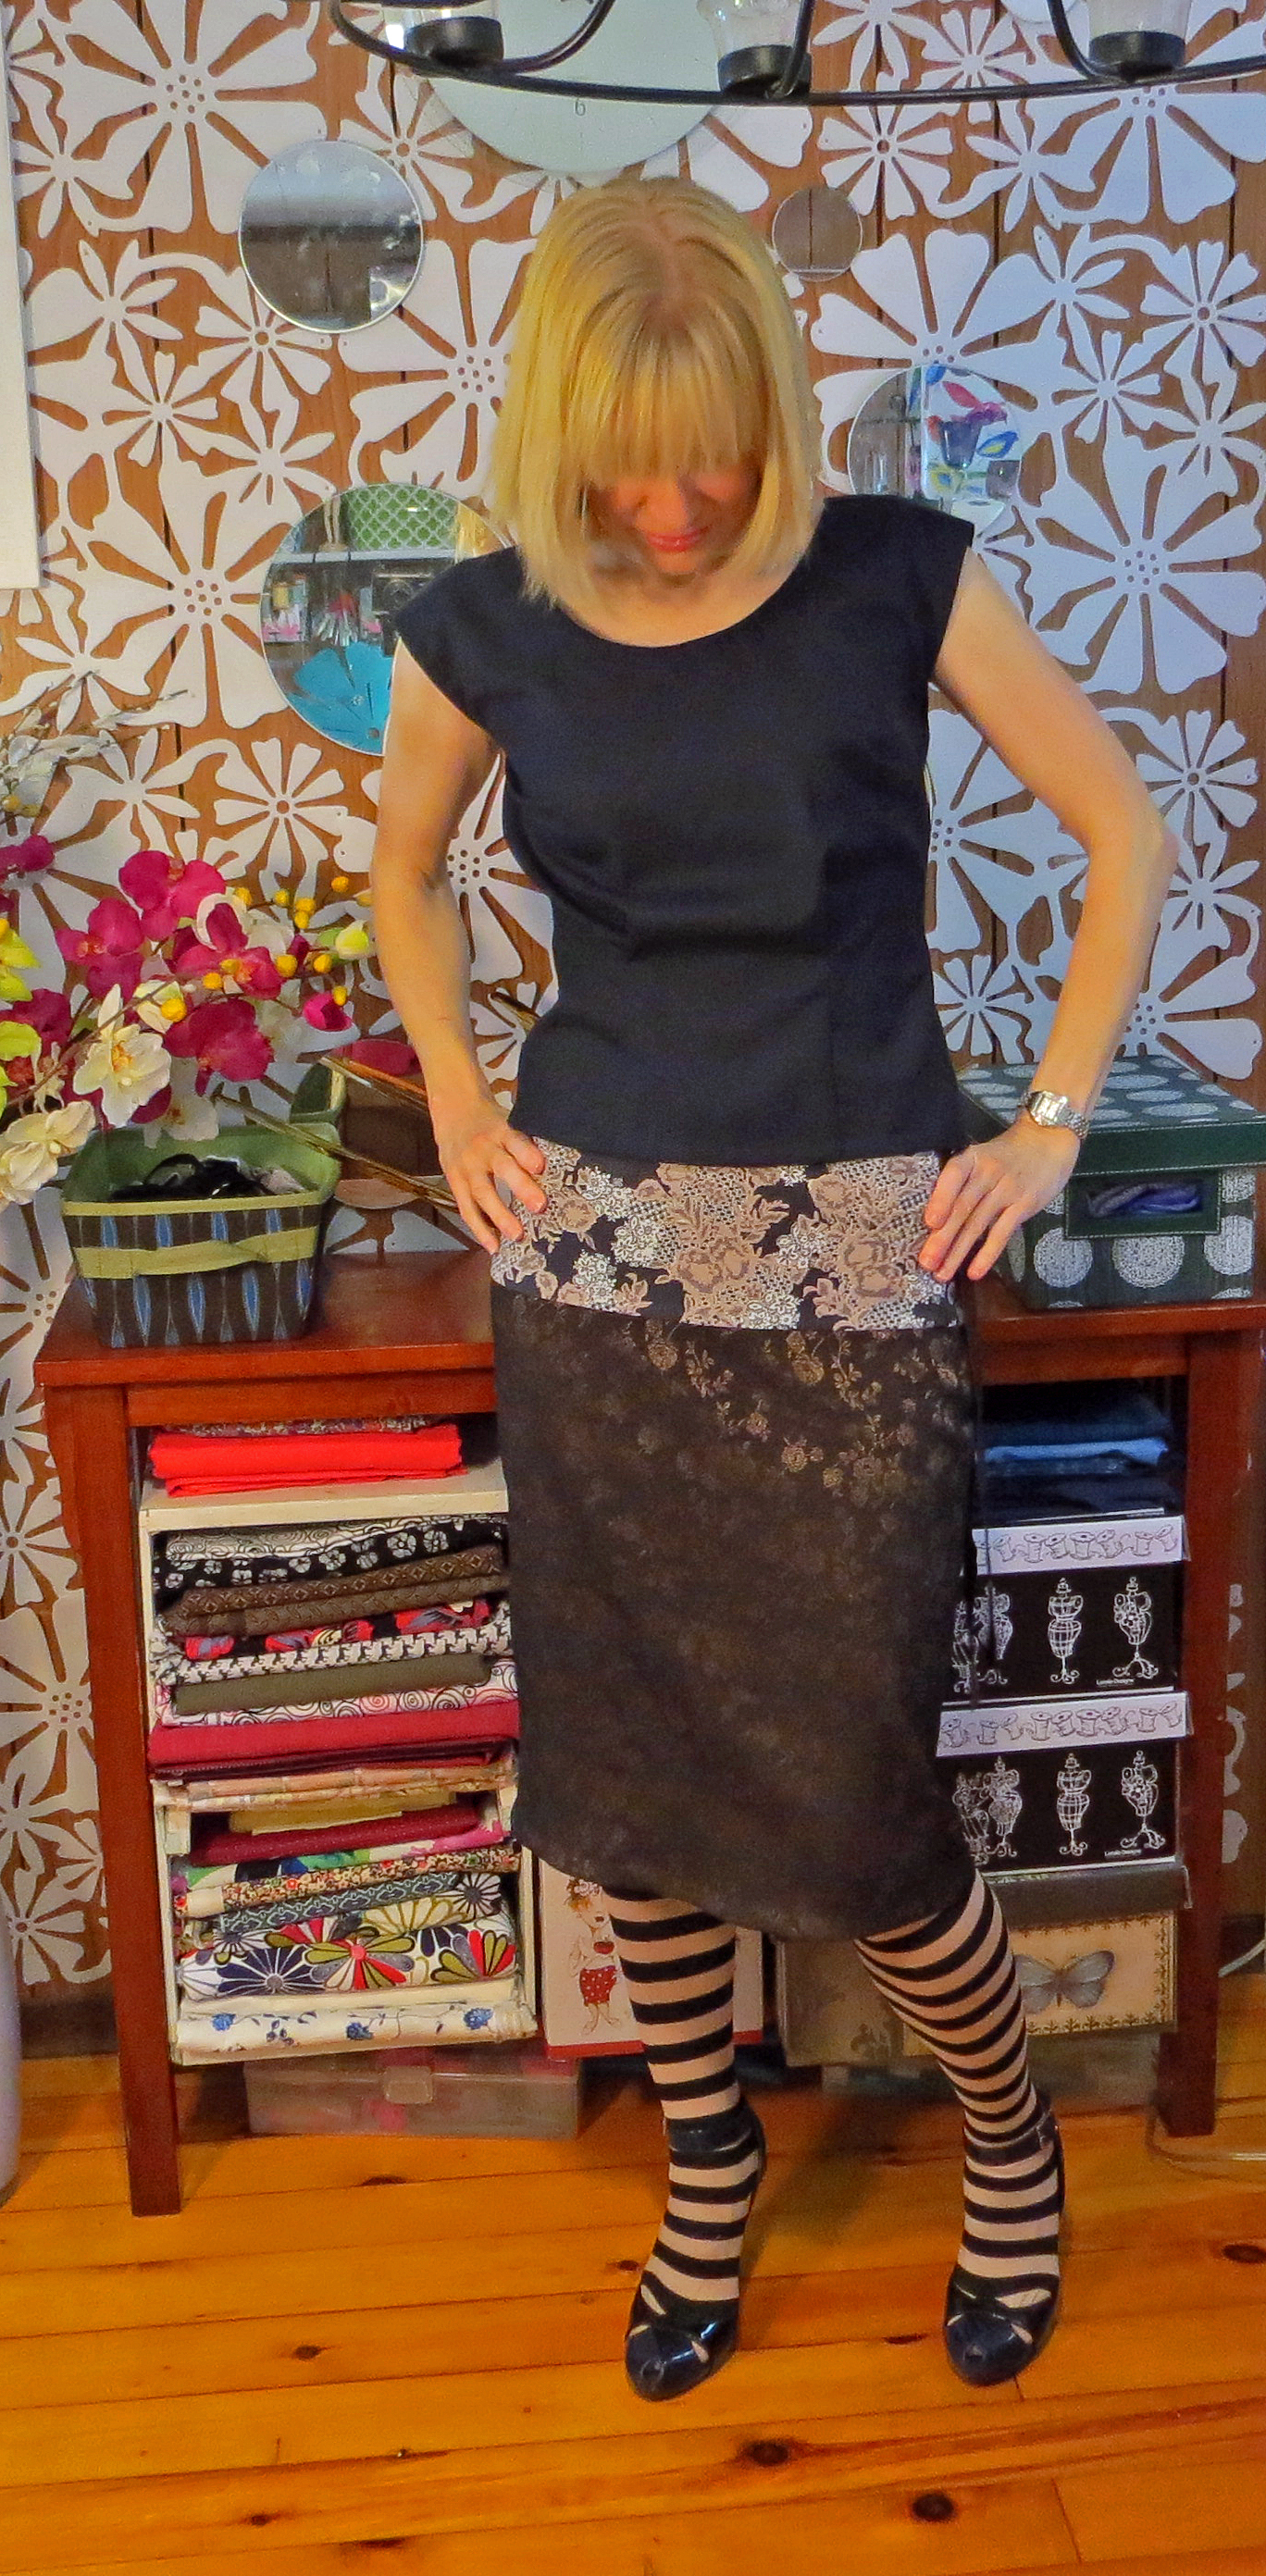
Twinkle Twinkle, Little Skirt
I used the Masculin et Feminin pattern from the Twinkle Sews book for my skirt, which I made from a lovely stretch silk fabric that I received from Kristin at Sew Classic. Thanks Kristin!
Since the fabric was a stretch woven, I opted to also line it with a stretch woven.
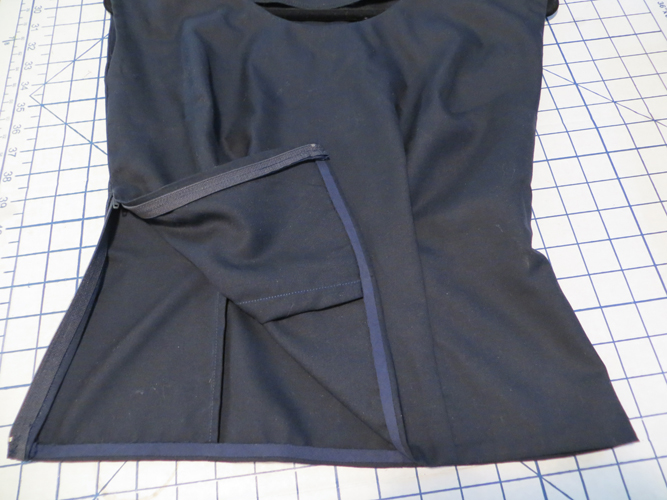
Skirt Lining
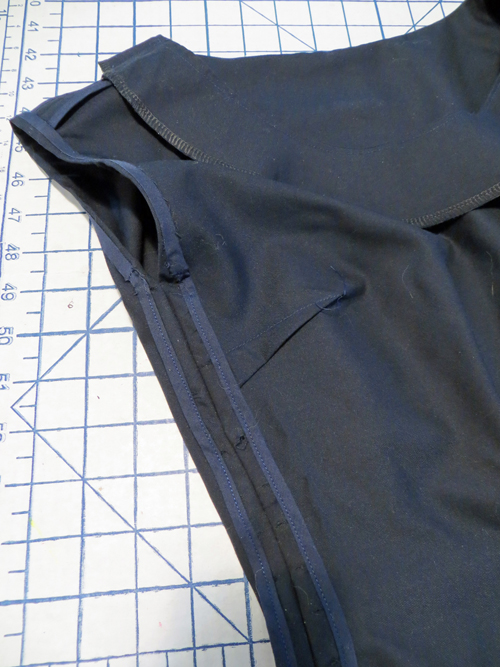
The skirt hem was bound with fold-over elastic before hemming. This was my first time putting a yoke on a skirt as well as inserting an invisible zip. Having the zip extend below the yoke meant I had to make sure the fabric change points were exact.

Invisible Zip and Yoke
This was also the first time I’ve used an inverted box kick pleat. For the skirt, it was not too difficult, although tricky to remember which way to fold and iron.

Inverted Box Kick Pleat
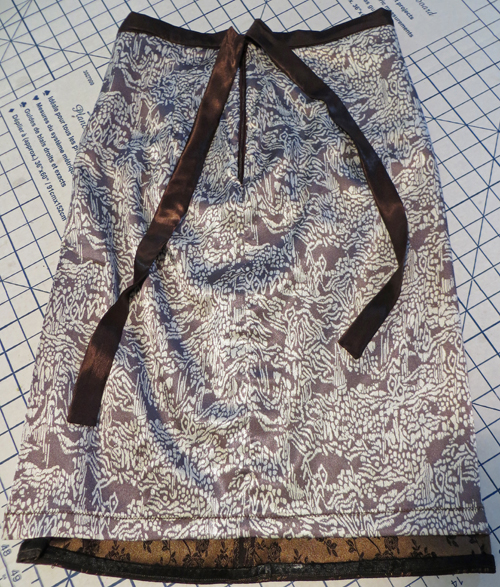
However, when it came to inserting the lining, this is where we entered a bit of a grey area. The pattern pieces for the lining were different from the skirt and the instructions did not seem to correspond to these pieces. She wants you to “stay stitch a V of reinforcing stitches the length of the kick pleat as indicated on the pattern piece [it wasn’t]. Carefully cut a slit in the lining to the point of the V.” This somehow did not make sense to me since there were 2 back lining pieces that you sewed a back centre seam. So, why would you cut a slit? And where? And then what on the skirt are you sewing these two sides to, since this is a closed inverted box pleat and not an open vent. There were no pics of the completed lining in the book. I had help from a volunteer sewing instructor and she did not understand these instructions either. If anybody has made this skirt, please do share how you did this!
I ended up altering the back lining pattern pieces to be mirror opposites of the skirt back pieces and sewing an inverted box kick pleat in the lining. I then sewed the line of topstitching that lies horizontal to the top of the pleat to include all the layers of fabric of the lining and skirt, to hold the lining in place. The book divides the projects according to difficulty and this skirt was classified as a ‘beginner’ project. I’m not sure I agree with that as there were many aspects (yoke, lining, inverted box kick pleat, invisible zip, waistband, lace overlay, working with slippery satin fabric) that are not necessarily beginner skills.
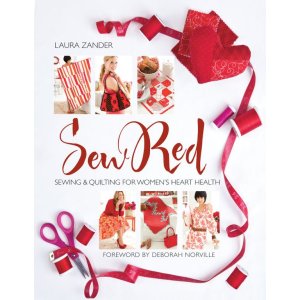
Another noteworthy aspect of this book is that there are: no construction pictures; no technical drawings of any kind; no diagrams, just text. This does make it more challenging to follow along if you are a beginner or a visual learner. The book includes a cd with all the patterns included in pdf form. One thing to watch out for: sizing. To find your size, according to the author, you need to measure your hips and then add 2″ for seam allowance and then 1″ to 2″ for ease. (For tops, you measure your bust, add 2″ for SA, then add 3″ to 5″ for ease.) Now the thing is, I did not realize nor do either of these measurement add-ons before cutting my skirt! I found my measurements on the measurement chart and printed out that exact size. The skirt fits me rather well, and, while it’s true I made the skirt from a two-way stretch woven with a small to moderate stretch and the pattern called for a non stretch, I still think the skirt would have been really huge if I had added on an extra 3″ to 4″!!??
I plan on making one of the tops next, but I don’t think I am going to add the extra 5″ to 7″ (for tops) as specified in the book. This seems really extreme, especially since the skirt fits without my adding any SA or ease.
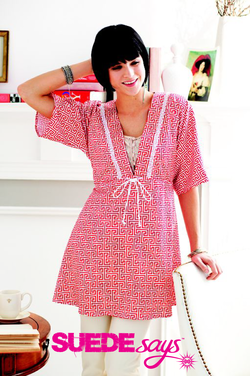
The book, however, does have some simply beautiful garments in it. They are all very creative and interesting, constructed from a variety of different fabrics and styled nicely, as well. This is what immediately appealed to me when I bought the book.
Some exciting news: Threads magazine has one of the dress patterns from the Twinkle Sews book available for free!
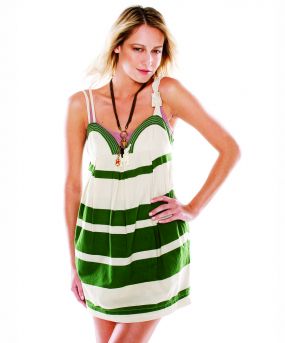
Click here for the free pattern of this dress.
So, if you don’t have the book and are interested in sampling it, here is the link to download the free dress pattern and instructions.
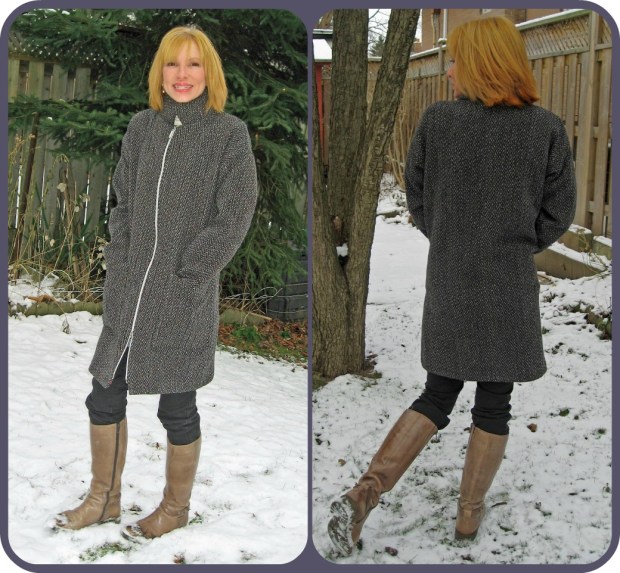
A Portrait of Gretchen’s Blouse
The top I chose to make from Gertie’s book was the Portrait Blouse. The pattern was fairly easy to put together and included some nice touches, such as hand sewn invisible hems
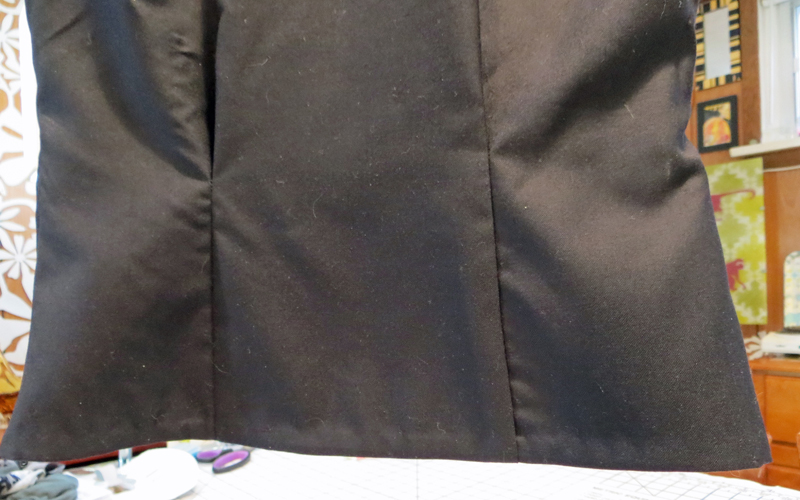
Hand Sewn Invisible Hem
for the sleeves and bottom as well as a hand picked side lapped zipper. It is sewn with a wool / cashmere blend, or at least that is what I was told by the vendor at a sewing expo where I purchased it in the ends bin for $5.00.
Hand Sewn Invisible Sleeve Hem and Bound Seams
The instructions for the side lapped zipper did seem a bit lacking, as I could not completely understand how to insert it just using them alone, so researched online to find tutorials. I noted that each tutorial was a bit different in their approach. Does anybody have a favourite tutorial or way of inserting a lapped zip? Please do share it!
Side Lapped Zip
The zip was ‘hand picked’ or hand sewn using what is really a very tiny back stitch. I also hand sewed the hems, using a slip stitch. I really enjoyed the hand sewing aspect; time moved nice and slowly and precision was so much easier to achieve than by machine and the stitching did, indeed look invisible afterwards.

Hand Picked Zip
Gertie’s book includes drawings for each step within the instructions, as well as a one or two sentence synopsis of the written instructions. It includes paper patterns for all the garments.
The book also provides a plethora of information regarding pattern alterations, sewing techniques and, because this book is a take on the 1952, Vogue New Book For Better Sewing, it gives you a lot of insight into vintage patterns.
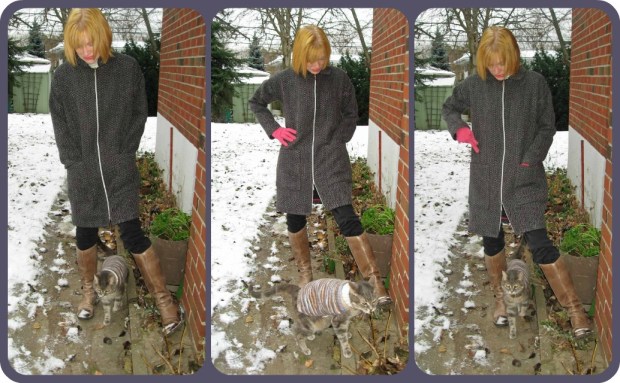
I thought that this top would be ‘untuckable’ due to the zipper at the hem, but actually it tucks in fine and the zip is not bothersome!

Tuck in your shirt! And, stand up straight!
Road Testing With the Sewcialists / Spoolettes
I also ‘road tested’ the skirt at a recent Sewcialists / Spoolettes meet-up.
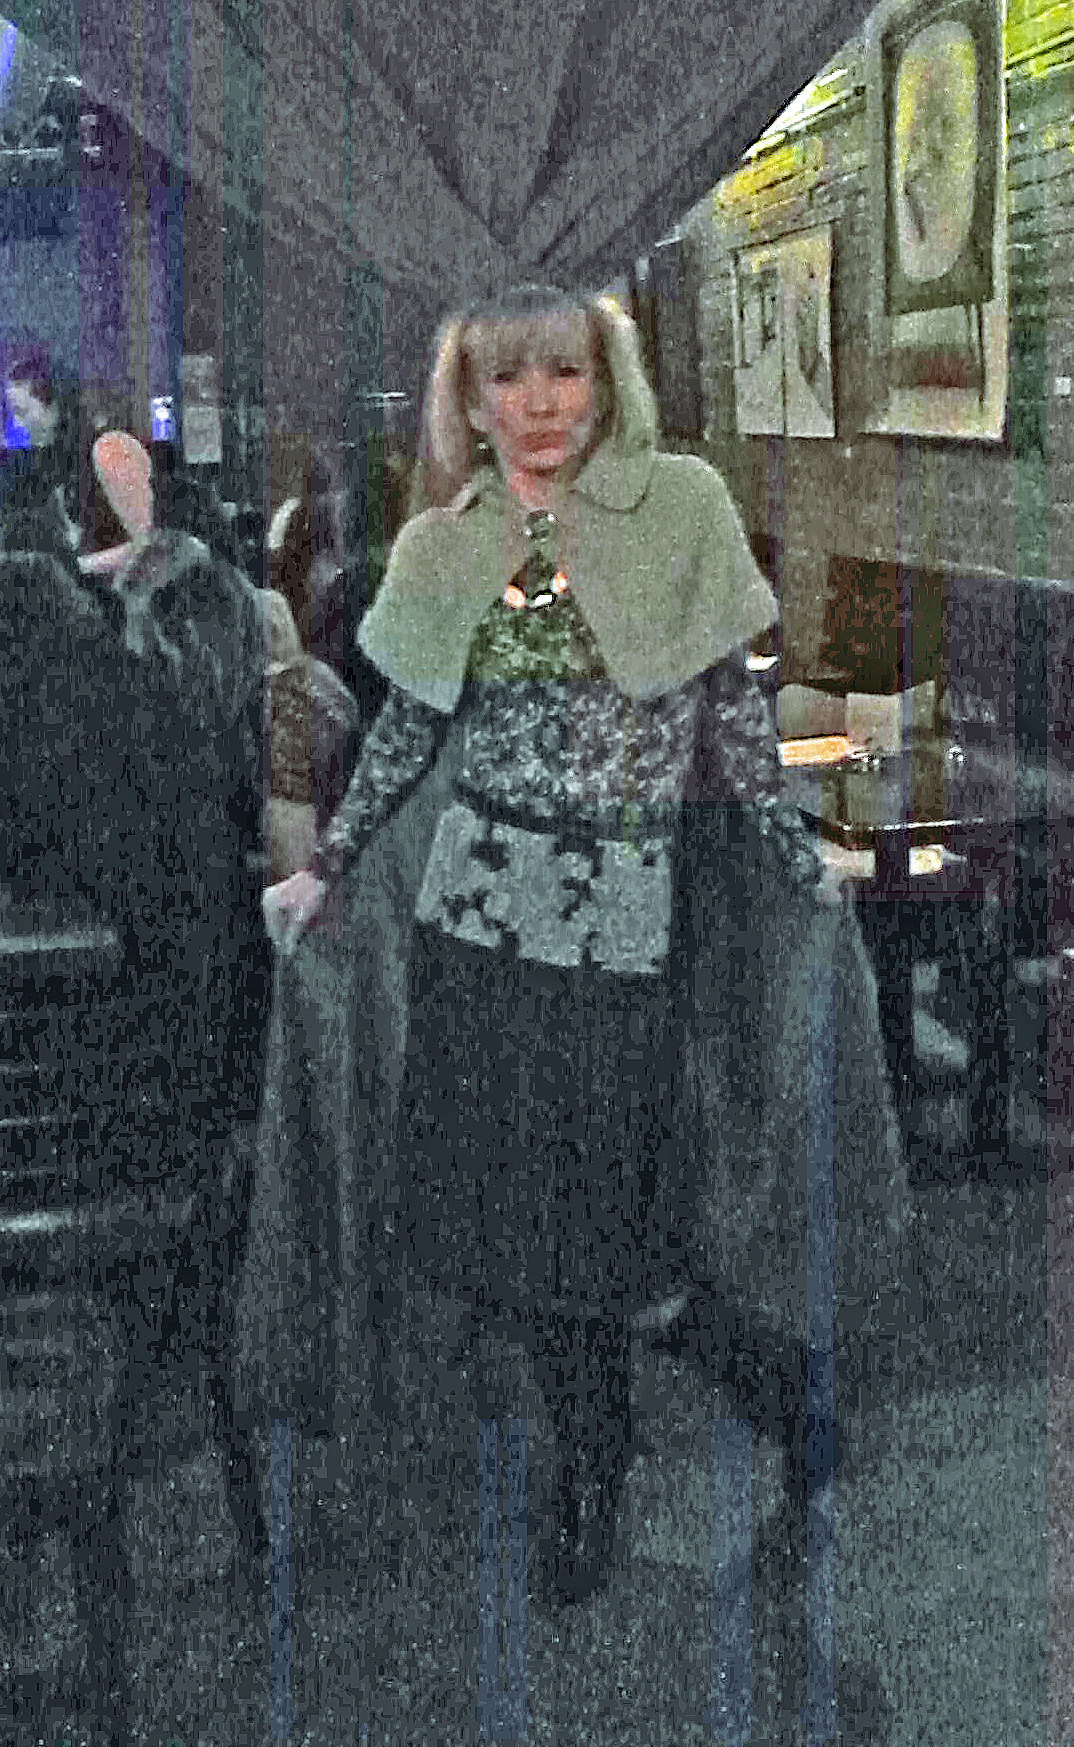
The Twinkle Sews Skirt in Action

Yours Truly, Gillian, Clare, Sara and Andrea. Hi there, Sewing Sisters!! Cheers Clare! ‘clink’


This was not the first time I’d seen these fantastic lovelies in person and each time it gets better and better. I can’t wait till the next outing. Who knew that my new-found hobby/past-time would bring me such joy, not only in solitude, when sewing, but socially as well, through social media, the blogs and, the best part, in real life!!
And, look how happy we all are! 🙂
I leave you with Wonder Woman…

Da na na na na na na Wonder Woman!!