Preppies, Knitters & a New Feature on the Blog packed with Free Sewing Stuff!

Collage

I hope everybody had a terrific Halloween.  It was raining here 😦 but we still received some trick or treaters and decorated the house with spooky style.

Halloween Photo Collage


Preppy Fashion

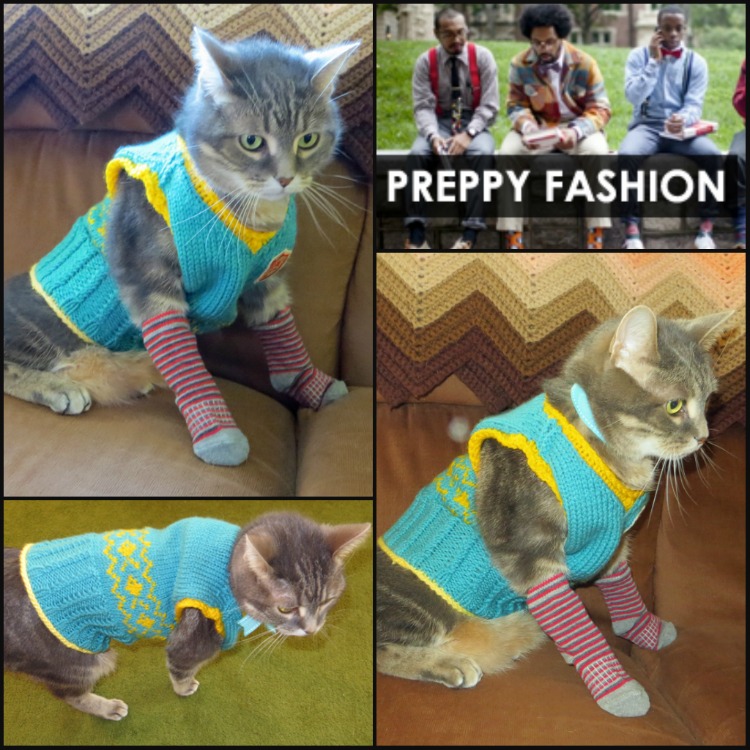
Muffy, my socks are itchy!

This year, Kitty dressed up as a dashing 80s preppy boy and wore a hand-knit sweater vest that his Gramma knit for him (thanks Mum!!)  His argyle sweater vest was completed with a prep school sew-on crest (from 1987, of course).

Cat Argyle Sweater Collage

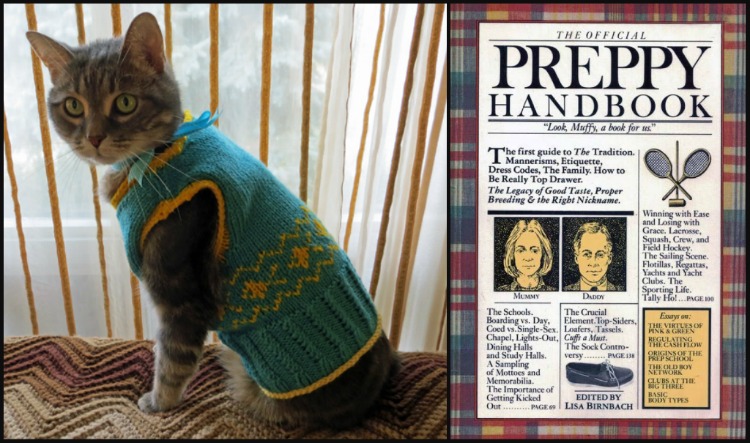
You can get the free knitting pattern here from knottygnome crafts.  Now, if you look carefully at the sweater, you can see something special about the Argyle pattern.

Argyle Sweater Fish Pattern

It looks slightly askew compared to the regular diamond pattern of argyle, yes?  No!  Look closely.  They are fish!!  And, because they are knit in gold yarn, they are goldfish!  I KNOW!  I died.  Then I came back to life and died again.  😉

Look Muffy he thinks he's one of us

Where is my polo shirt??  Maybe I’ll rough it this weekend in my khakis and madras.

The Official Preppy Handbook

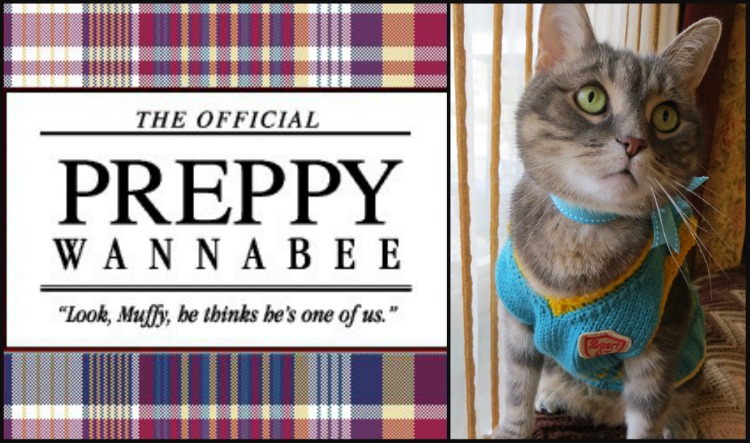
Anybody have The Official Preppy Handbook from 1980 and did you follow any of the ‘rules’, however satirical they may have been?  Come on, you can tell us!  For those of you still preppy, the author has a newer book out: True Prep: It’s a Whole New Old World, 2010.

-New Feature on the Blog-

I have recently added three new sections to the blog!  At the top menu, there is a drop down menu labelled FREE PATTERNS/BOOKS/RESOURCES.  Free Patterns Books Resources

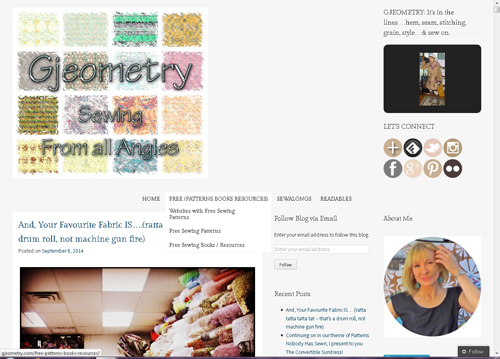
The first section, Websites with Free Sewing Patterns, has a number of websites that contain a variety of free sewing patterns.

Websites With Free Sewing Patterns

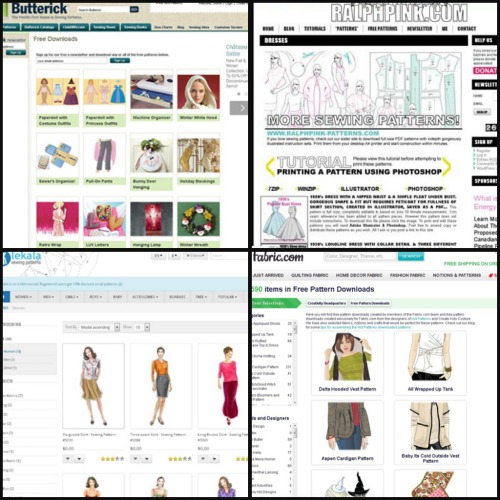
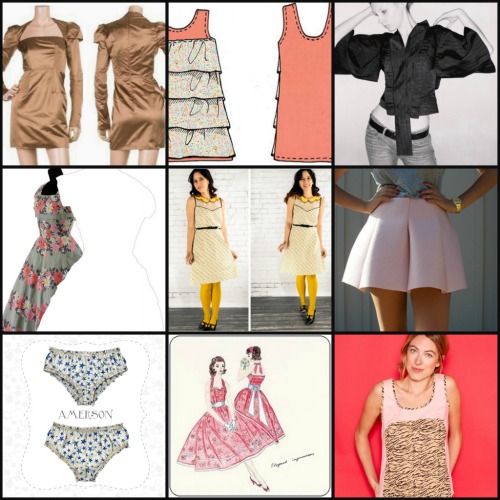
The second section, Free Sewing Patterns, is a compilation of free patterns of varying styles and difficulties that range from couture to casual.

Free Sewing Patterns

And the third section, Free Sewing Resources (Classes, Tutorials, Books -vintage & new), contains downloadable books, both vintage and new, resources, classes, pdfs, videos, etc. that cover everything from needle selection to couture sewing techniques.

Free Books Resources

I will be updating these sections on an ongoing basis, so check back periodically to see what’s new!

If you have a free sewing pattern or resource that you would like added to the site, please feel free to leave a link in the comments section.

Kitty All Tuckered Out

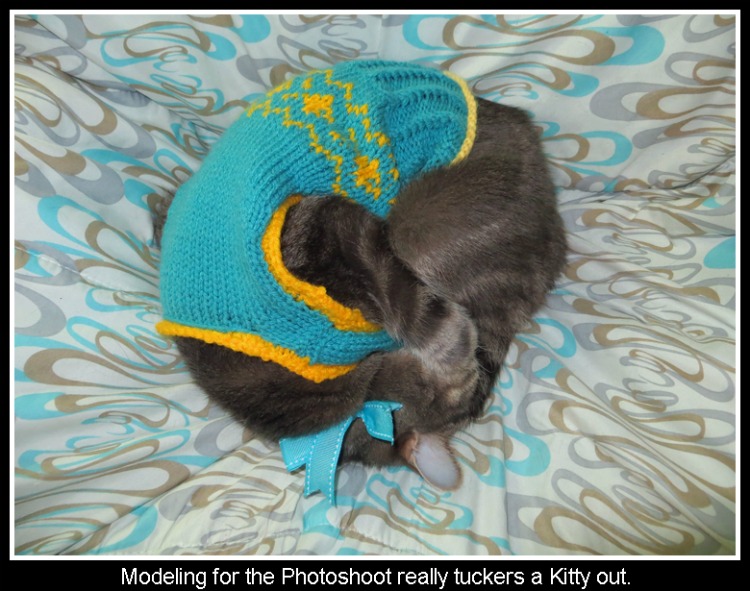
photo credits: Brighterman, The Official Preppy Handbook

How to Construct a Waistband Casing

A waistband casing consists of a tunnel sewn to accommodate a drawstring or elastic at the top of a skirt or pants and at the waistline of a dress.  A casing can also be used at the hems of sleeves and pants.  You will need to fold the fabric towards the wrong side and press about 0.75 cm (quarter-inch), then fold down again the width of the elastic or drawstring, plus about 1 cm (half an inch).  Sew the casing closed, all along the garment, leaving a 4 cm (2″) opening.  Optional:  You can also edgestitch all the way around the top of the casing.  This flattens out the gathers at the hemmed edge and neatens the look.

Bodkin with Drawstringand Safety Pin with Elastic

Bodkin with Drawstring
and Safety Pin with Elastic

Using either a bodkin or a safety-pin attached to one end of the elastic or drawstring, thread the item through, being careful not to pull the opposite end into the casing.  For an elastic, overlap the two ends about 1 cm (half-inch), sew together and insert back into casing.  Adjust gathers and sew the casing closed.  For a drawstring, you will need to insert two buttonholes, approximately 2 cm (1″) apart at the front of the garment, within the casing, in order for both ends of the drawstring to exit and be tied.  The buttonholes can be placed so that the drawstring exits at either the inside or the outside of the garment.

Waistbands with Elastic Casing (left) and Drawstring Casing (right)

Waistbands with Elastic Casing (left) and Drawstring Casing (right)

You can also add a casing of different fabric, instead of folding down the fabric of the existing garment.  For this, you would do as above, but instead of adding the amount you calculated for the casing onto your original fabric, you would measure this amount onto the new fabric and cut it out.  You will also have to add another 0.5 cm (5/8″) or whatever is your seam allowance, as you will be attaching the casing to your garment.

A Skirt in Two Rectangles

Two Rectangle Skirt

This skirt is likely the easiest style to sew.  It is really just two rectangles plus an elastic waist.  You can put a belt over the elastic waistband casing to finish it off and make it look a tad more complex than it really is.  The fabric I used was a stretch cotton sateen, which gives it a heavier drape and a lovely sheen.  I have seen these in every beginner sewing book and everybody has their favourite way of constructing them.  Here is an outline of the steps that you can adjust to suit your own tastes.

Skirt in two rectangles

First, you measure out two rectangles, the length that you desire the skirt to be plus about 4 cm (2′) for the double folded hem and another, approximately 4 to 6 cm (1.5 to 2.5″) for the waistband casing, depending on how wide you want your elastic.  For more on how to construct a waistband casing, click here.  The width of the rectangle will be your waist measurement, plus anywhere between 5 to 25 cm (2 to 10″) depending on how much you want the skirt to gather and how much “give” or stretch there is to the fabric you have chosen.  Keep in mind, if you have very curvaceous hips, then you will have to leave enough room to be able to pull the skirt on over them to get it to your waist.  The width of the elastic will be up to you, but you will have to adjust the waistband casing accordingly, and the length of the elastic will be your waistband measurement minus about 5 cm (2″).  Pin it and try on first, for comfort.

Elastic Waistband Casing

Elastic Waistband Casing

Then, you sew the two rectangles together, giving two side seams, and double fold the hem.  For this, you fold up the hem 1 cm (half-inch) and press, then fold up another 1 cm (half-inch) press and topstitch close to the edge.  After this, you fold back the top of the skirt about 0.5 cm (quarter-inch), press and fold over again the width of your elastic, plus about 0.5 cm (quarter-inch).  Sew around the skirt, making a casing and leave a 5 cm (2″) opening.  Thread elastic though this casing, sew the elastic ends together then stitch the casing closed.  Done!  It takes no time at all, and makes a very simple yet appealing and easy to wear skirt.