So, to refresh your memories, I had selected the Very Easy Very Vogue  9647 from the winning Pattern Pyramid. There were two main reasons for this; one, it was in my size, two, it was touted as “very easy”.
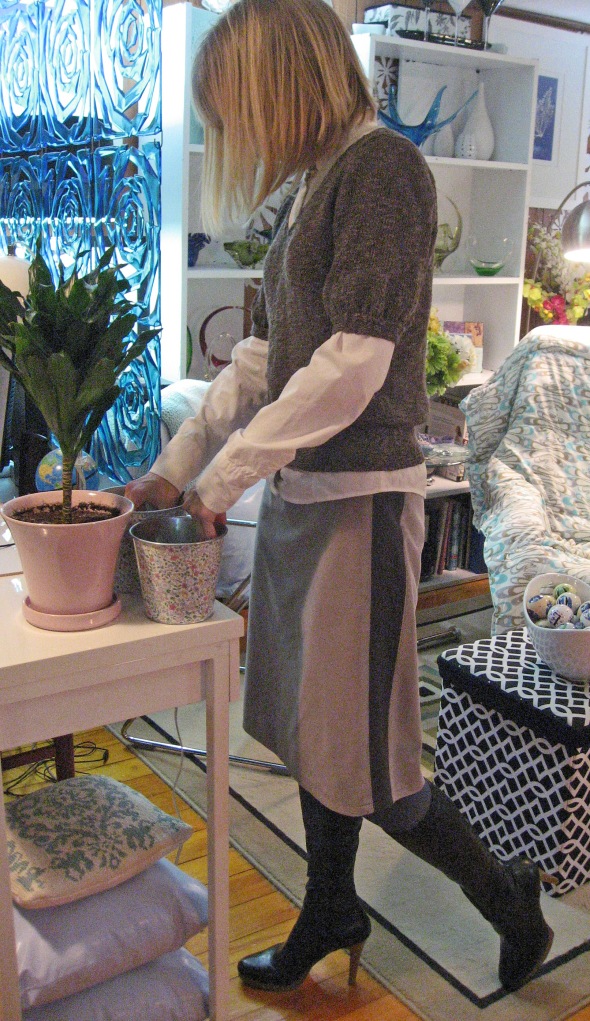
Now, not sure if you can see from the picture or not, but this pattern is definitely very ’80s. Especially, the incredibly expansive shoulder pads. They are actually large enough to land a plane on! Seriously! And for those of you afraid to fly, picture a Kitty perched on each shoulder and walking around all day like that.
I wanted to try my best to De-80s-fy the pattern (yes, I coined that phrase, please feel free to use it and share).
This is what I came up with to bring it into this century while lancing the shoulder pad design detail:  I opted to make the top half of the dress in B (the short sleeves) and the bottom half of the dress in A (the full skirt), while also shortening the dress to about knee-length. I’m using a periwinkle blue cotton voile that has a flower design embossed on it, and is almost sheer where the flowers are embossed. I thought it would be delicate and flowy and deter from that ‘boxy’ look. I then decided to sew an Obi Style belt out of the cotton floral fabric to cinch it at the waist while still keeping that light and airy look (as opposed to using a heavy leather / plastic belt).
So, these are my plans to de-80’s fy, what do you think? In my mind, it looks fabulous! 🙂 In reality, we’ll have to wait and see.
And, I have been charged with a Sewing Dare by Jagoda from FitNottoFit:
“Catja, I don’t know what your plans are for March, but I CHALLENGE you to make something from Ikea fabric. Hopefully something wearable, for yourself, not for the kitties. Do you accept?”
Yes, I accept! Although Kitty is a tad disgruntled. Here is my plan: I love Ikea fabric, but it can be a challenge to sew clothing with it, as it is mainly designed for home sewing projects. I am going to make Butterick B5285 in Version B and use this Ikea fabric pictured. The fabric design is: Malin Akerblom, 2010. The floral print is quite large and I’m hoping that with the addition of the pleats on the skirt, it will look like an abstract floral pattern.
Karen, from Did You Make That? made the same version (B) of the Butterick skirt in a fabulous fabric, check it out here. It looks terrific, so if mine comes out half this well, I will be stoked!