
I am currently at work on my Fearless February Project. This sew-along was started by Victoria, and her blog, Ten Thousand Hours of Sewing, is based on the book Outliers by Malcolm Gladwell. 
In the book, Gladwell expounds the value of the “10,000 Hour Rule”, where success and mastery of something can be achieved but requires 10,000 hours of practice. It makes me feel really motivated and positive about my sewing since as a beginner, I sometimes feel overwhelmed with all there is to learn. But, with this idea in mind, I believe that I can achieve success in sewing!
I’m a fan of Gladwell’s writing and if you have not checked him out, he has published several books and they all infuse a fresh twist into the subjects of modern psychology and philosophy.
Okay, with that in mind, here is the Fearless February Project: Burda Style Pants 7441. I began this project last year before ever having sewn a thing, and it was far too overwhelming. And, in retrospect, it was not a good choice for an absolute beginner for several reasons: 1) The pattern is a Burda and I have been told they can be notorious for not providing the most detailed or complete instructions. 2) It is rated as a 3 out of 4 on a difficulty level. 3) Tailored pants are more difficult to sew than a simple skirt or top. And, 4) These pants have a lot going on including, two different styles of pockets, darts, pleats, zipper.
However, with some experience under my belt, a slew of practice hours logged and a variety of projects completed, I felt ready to tackle these pants again.
All pattern pieces have been cut out, including lining and interfacing. 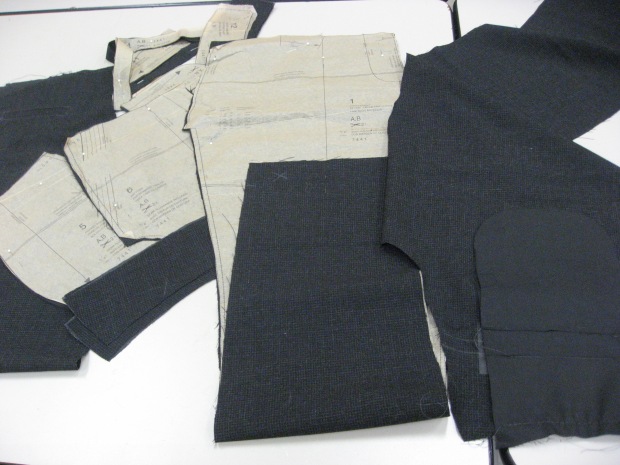
The very first task (after sewing the back darts) was to construct the back welt pockets. Wow, these were difficult to understand, the directions and pictures were not very explanatory and there seemed to be a few placement marks missing on the pattern pieces (i.e., sew lines for piping and pocket attachment). But, with the help of my sewing teacher, and a few tears, I have now completed the back welt pockets!! 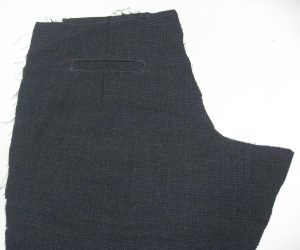
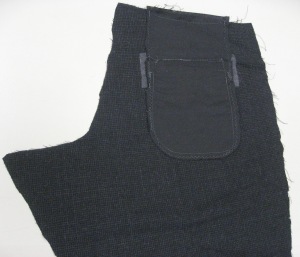 There was a definite learning curve, and, one pocket looks better from the outside while the other pocket worked out nicely from the inside. So, for the next pants, I should be able to construct a pocket that looks good from both the outside and inside. I am now on to the front of the pants. Wish me luck!


